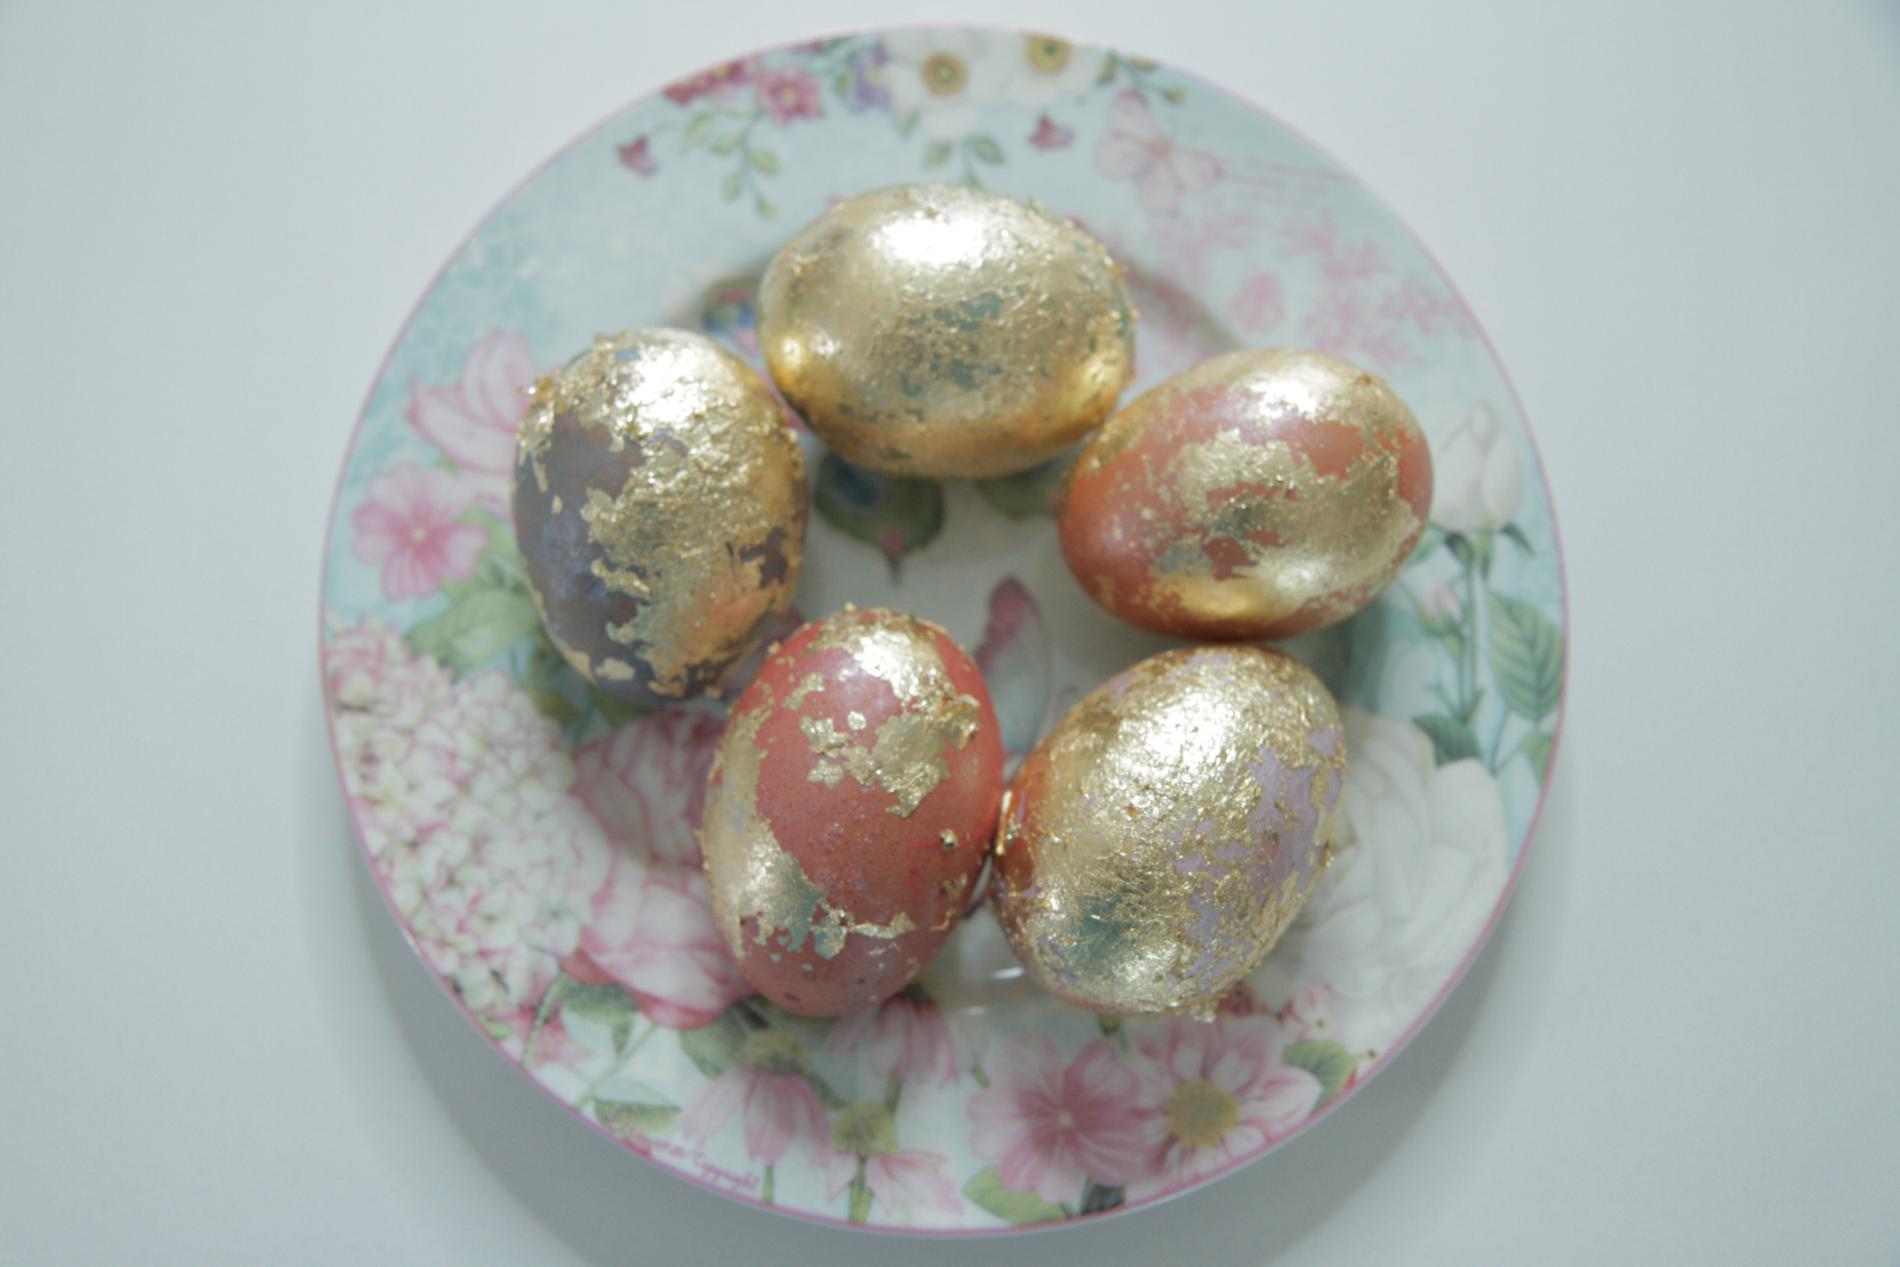
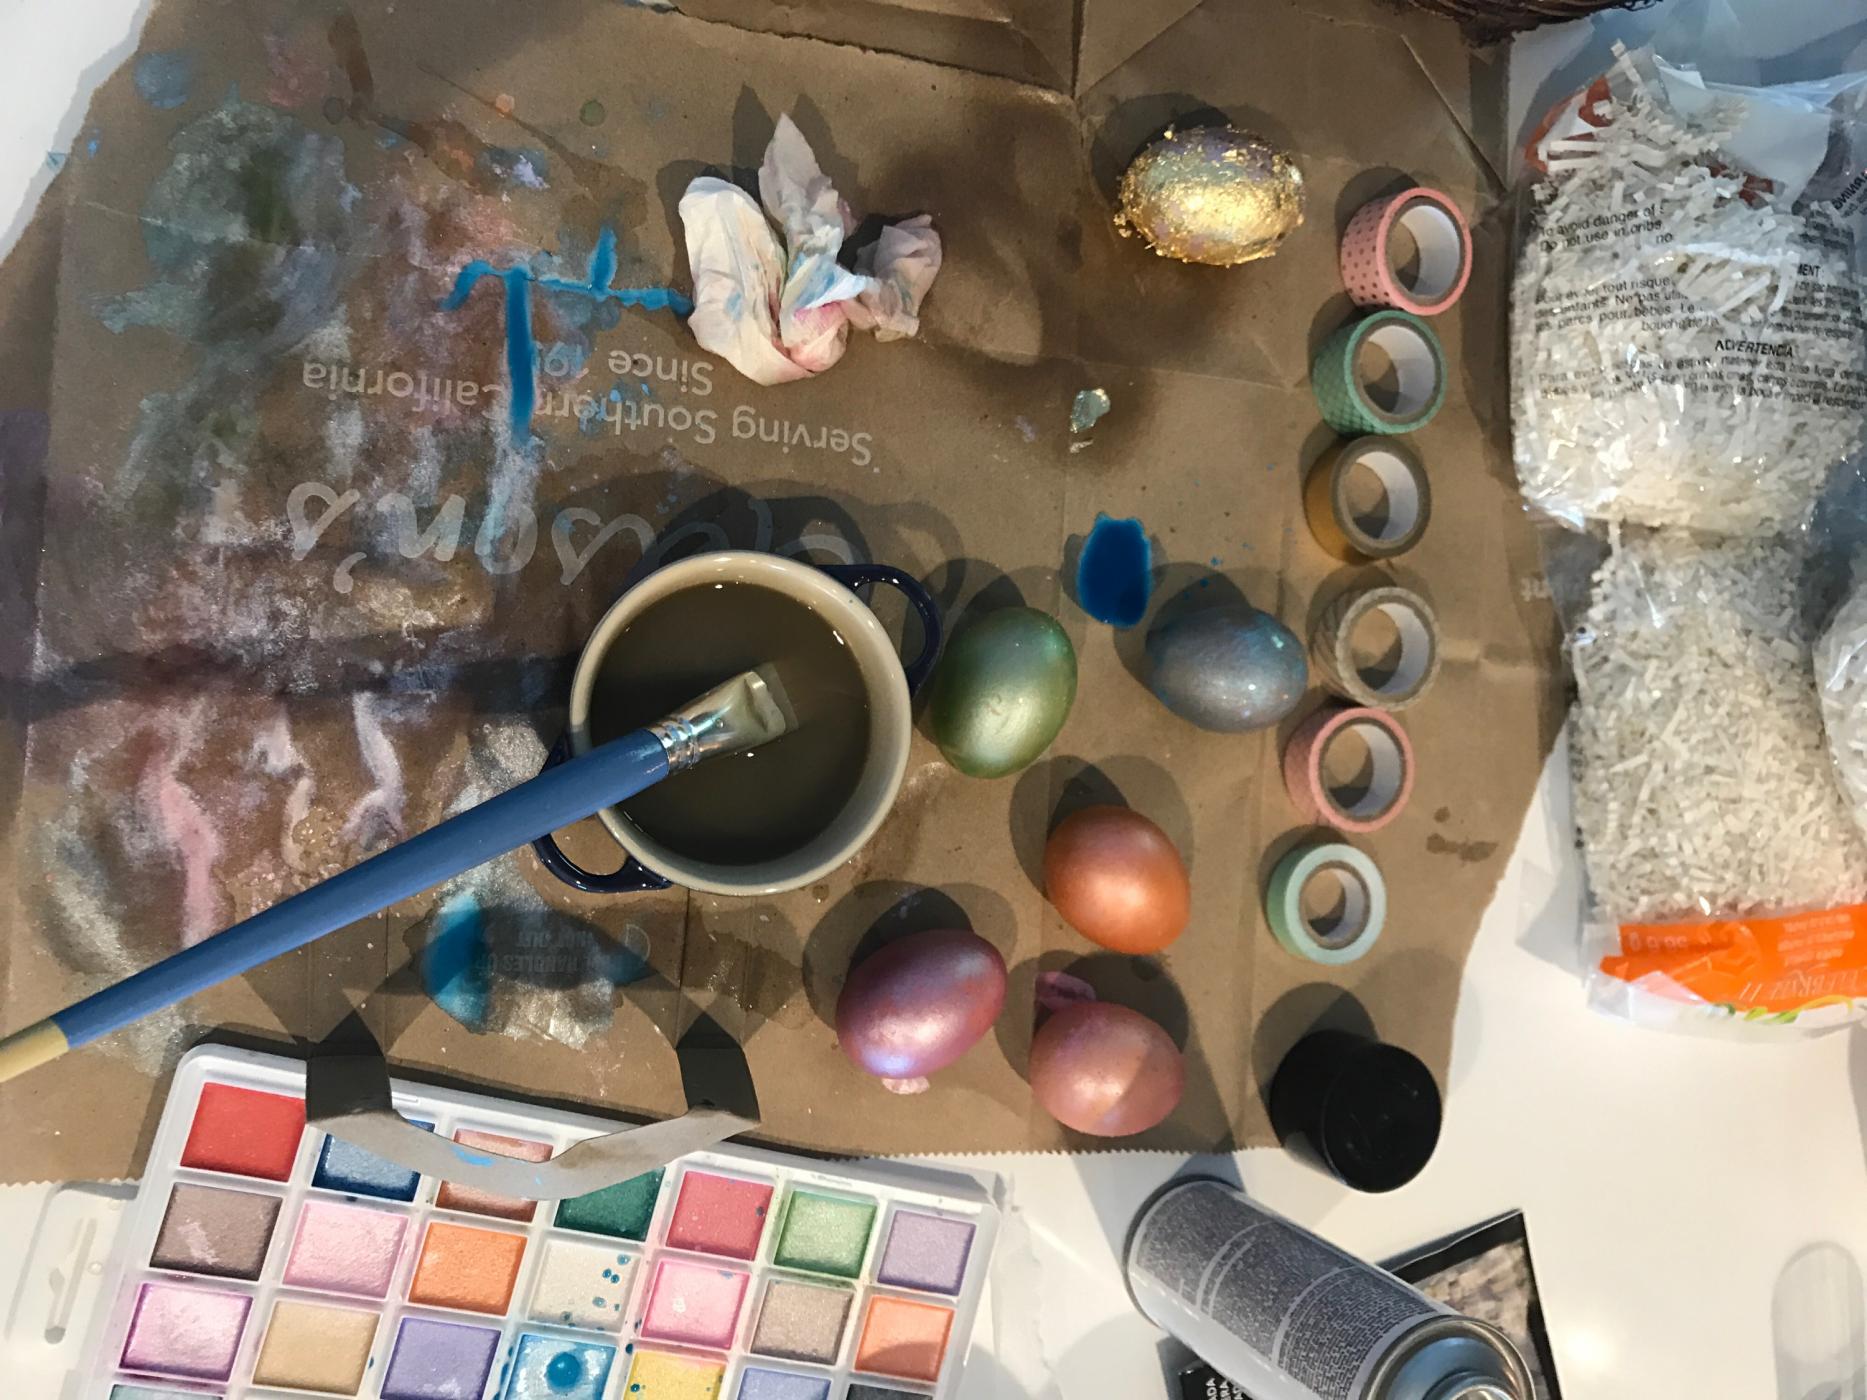
With Easter coming up this Sunday, I thought I’d get a head start on dying Easter eggs with Collette! This year, we decided to try the season’s hottest Easter egg trend: GOLD EGGS!
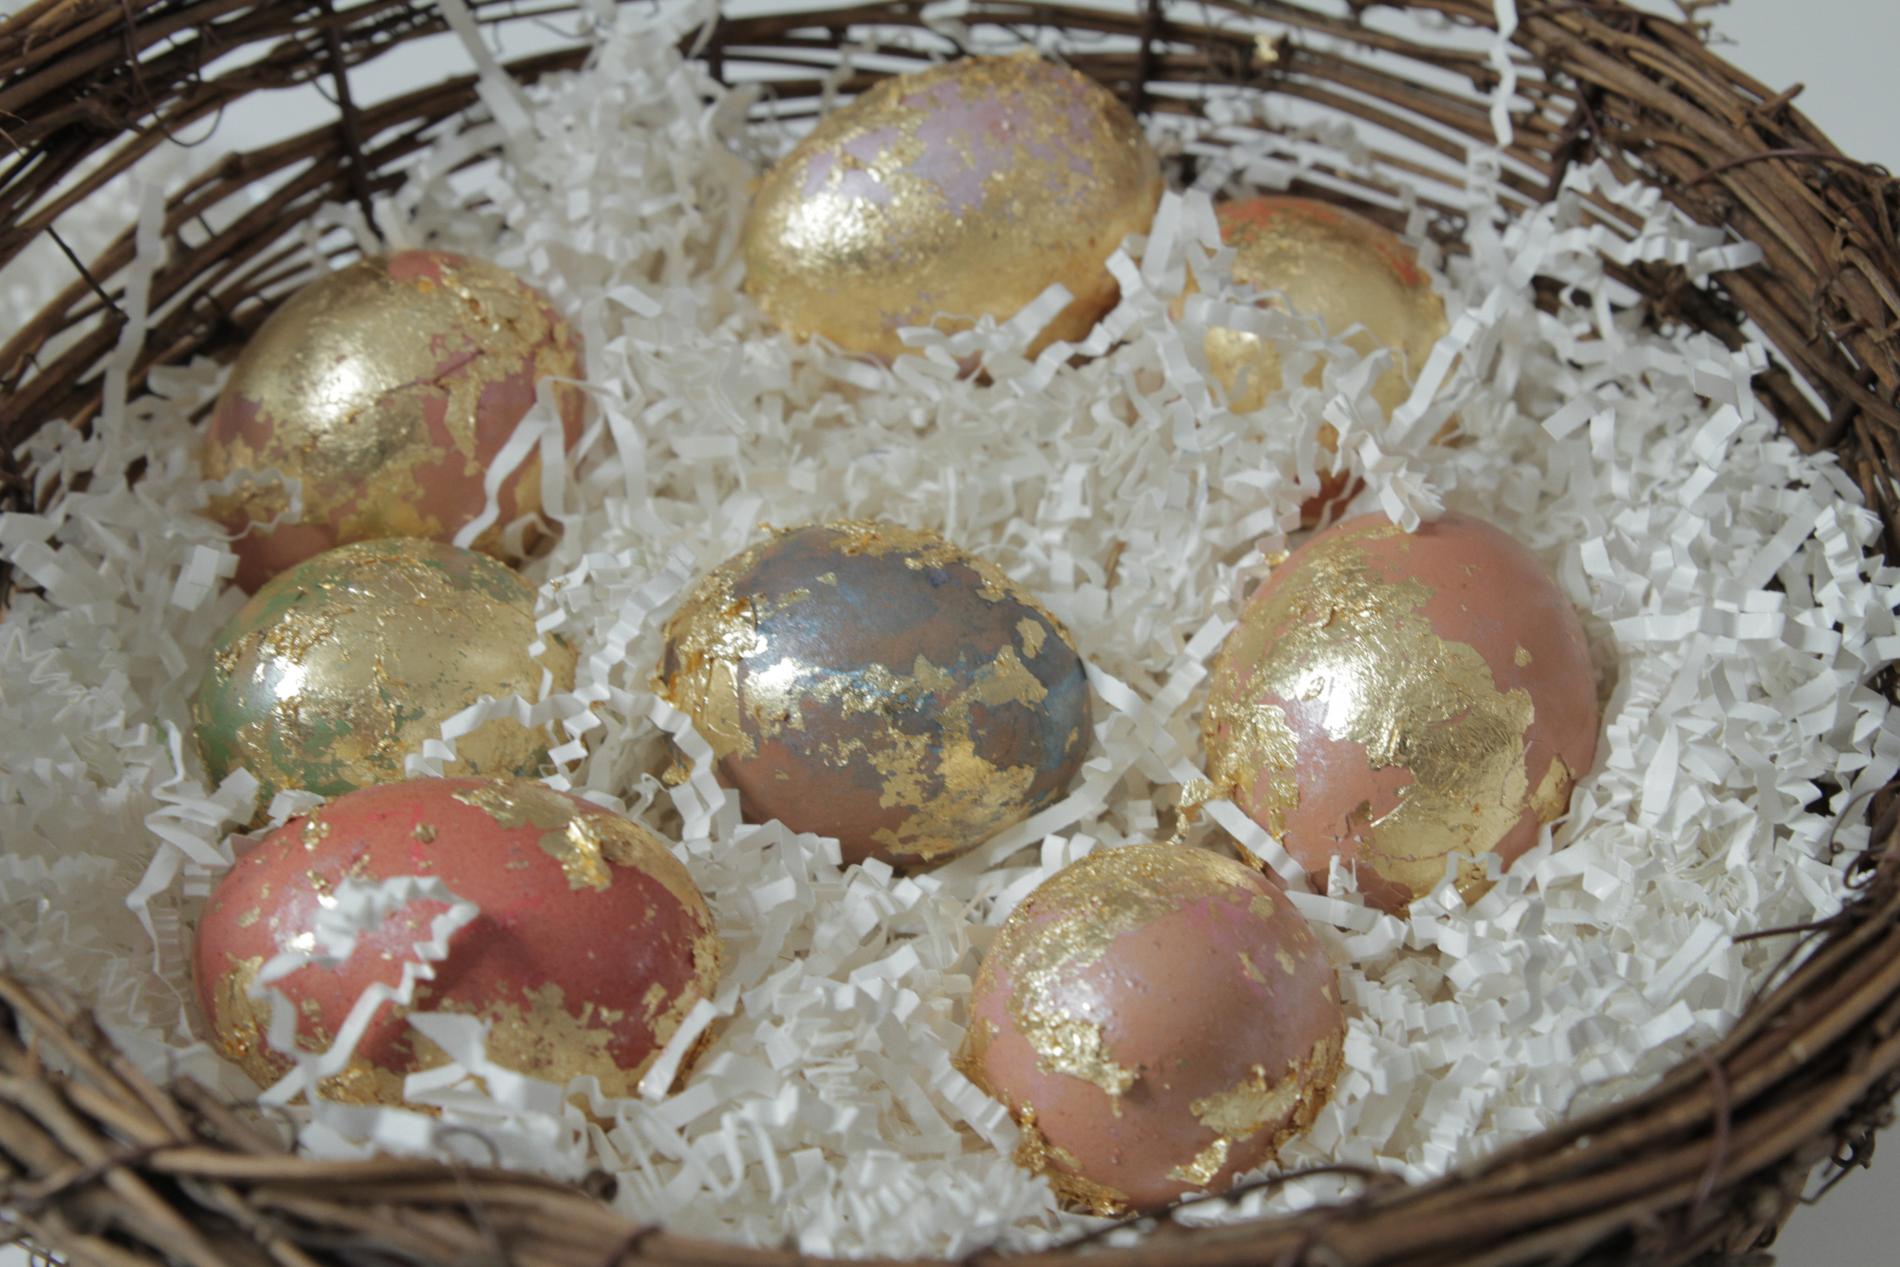
These gold eggs are so cute and on trend for Easter!
Ingredients:
Hardboiled eggs
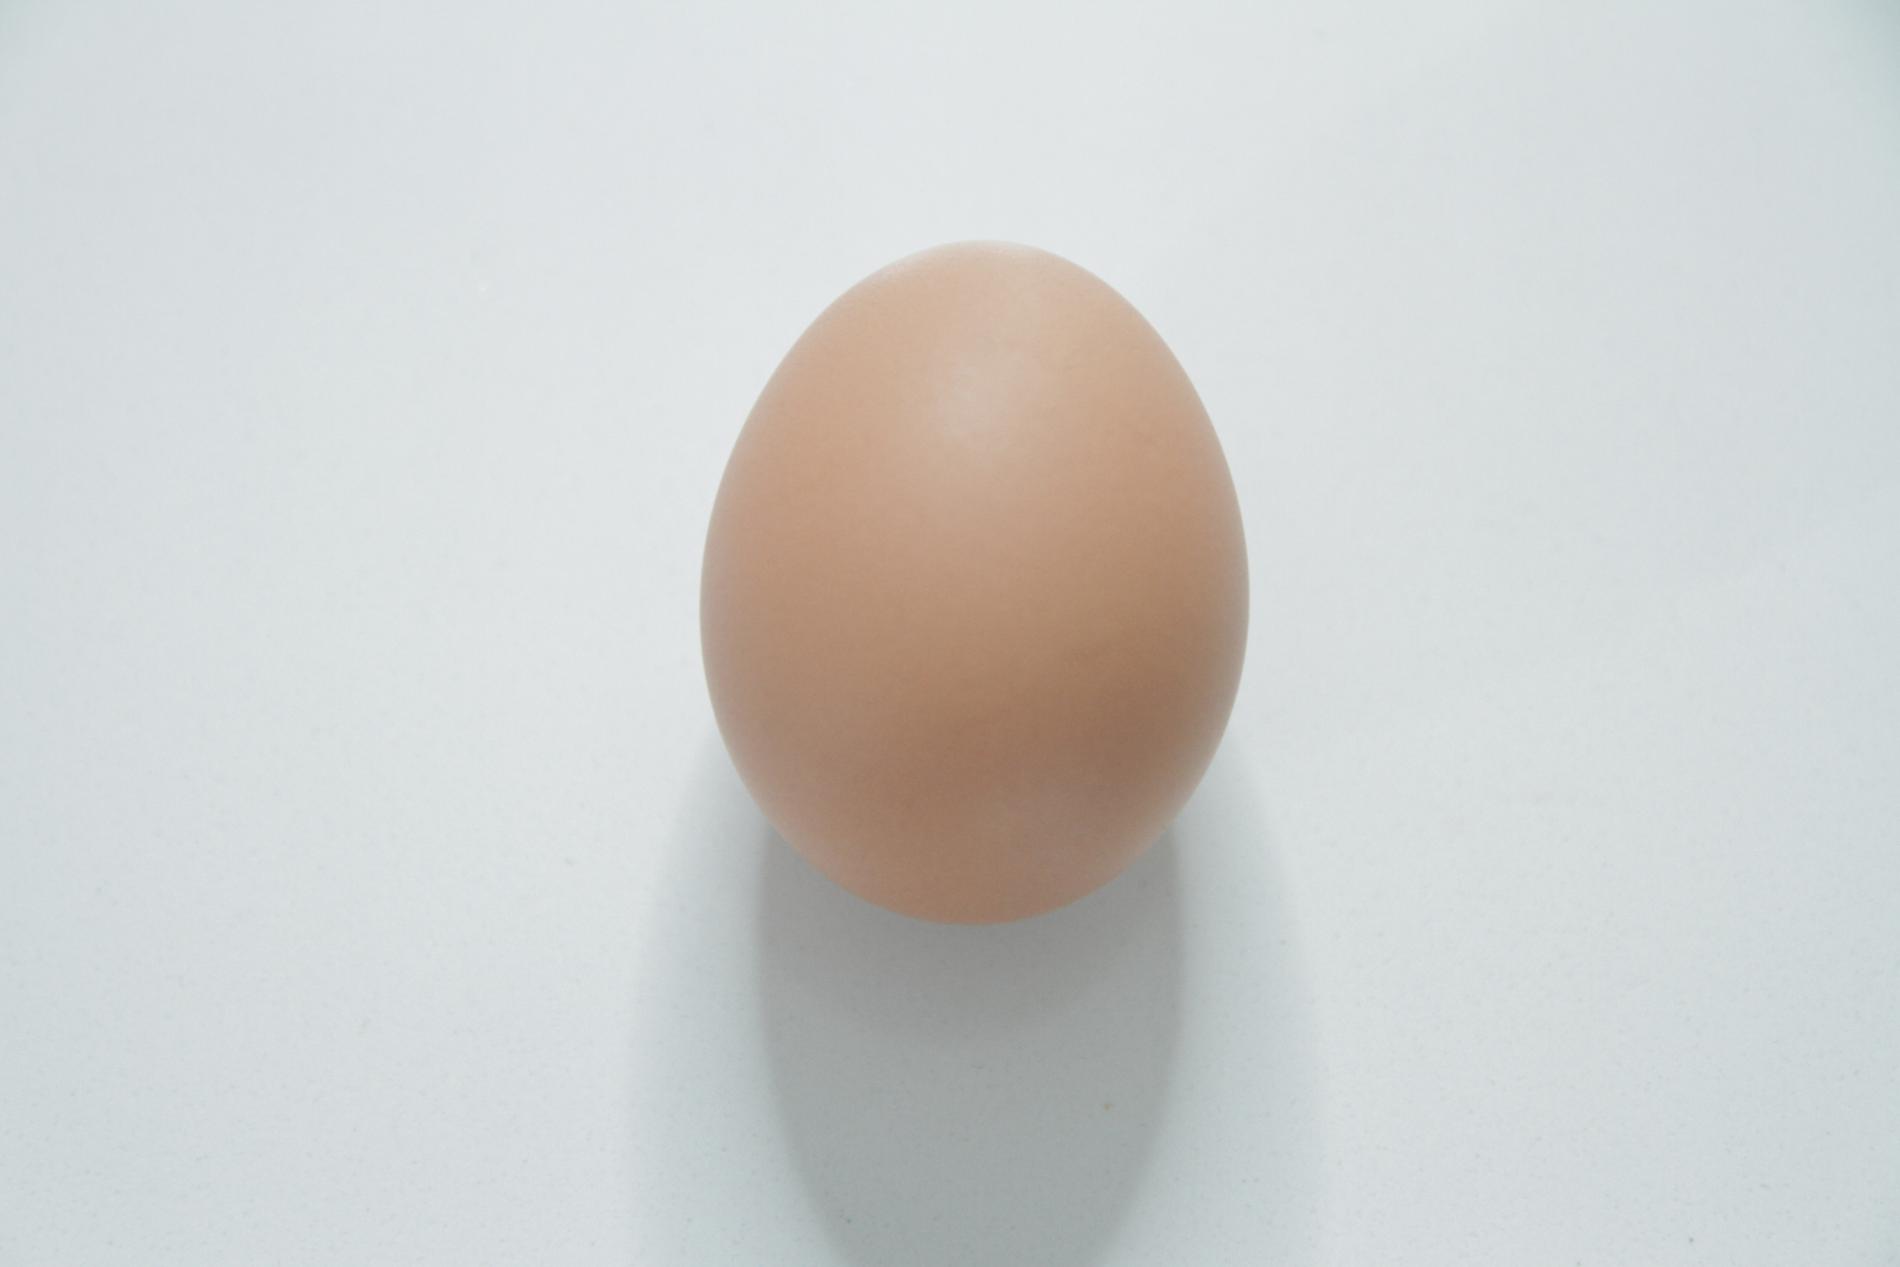
I used organic brown eggs for this project, but you can use plain white ones, too!
Water color palette
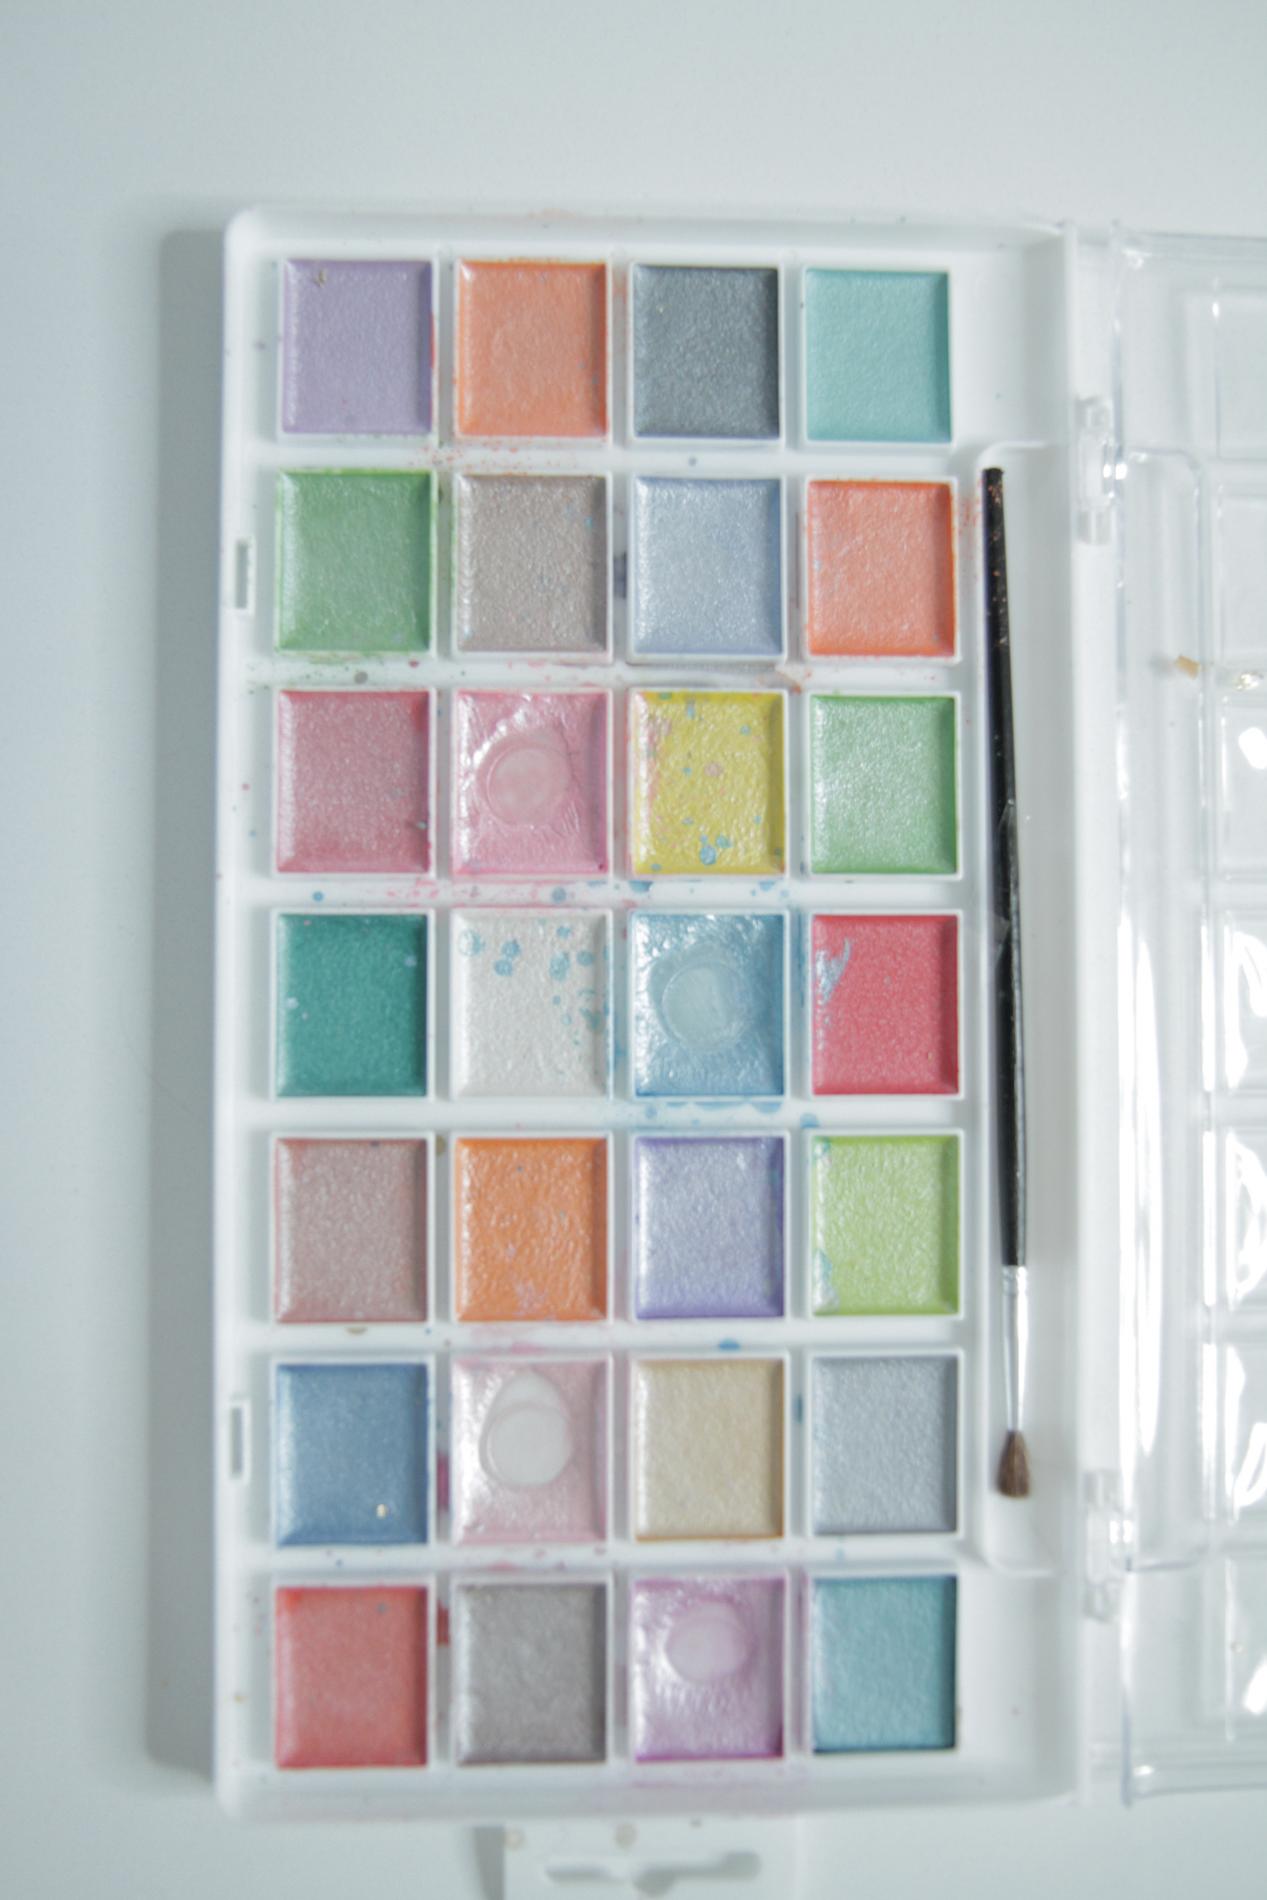
Pastel water color palettes work great!
Paint brushes
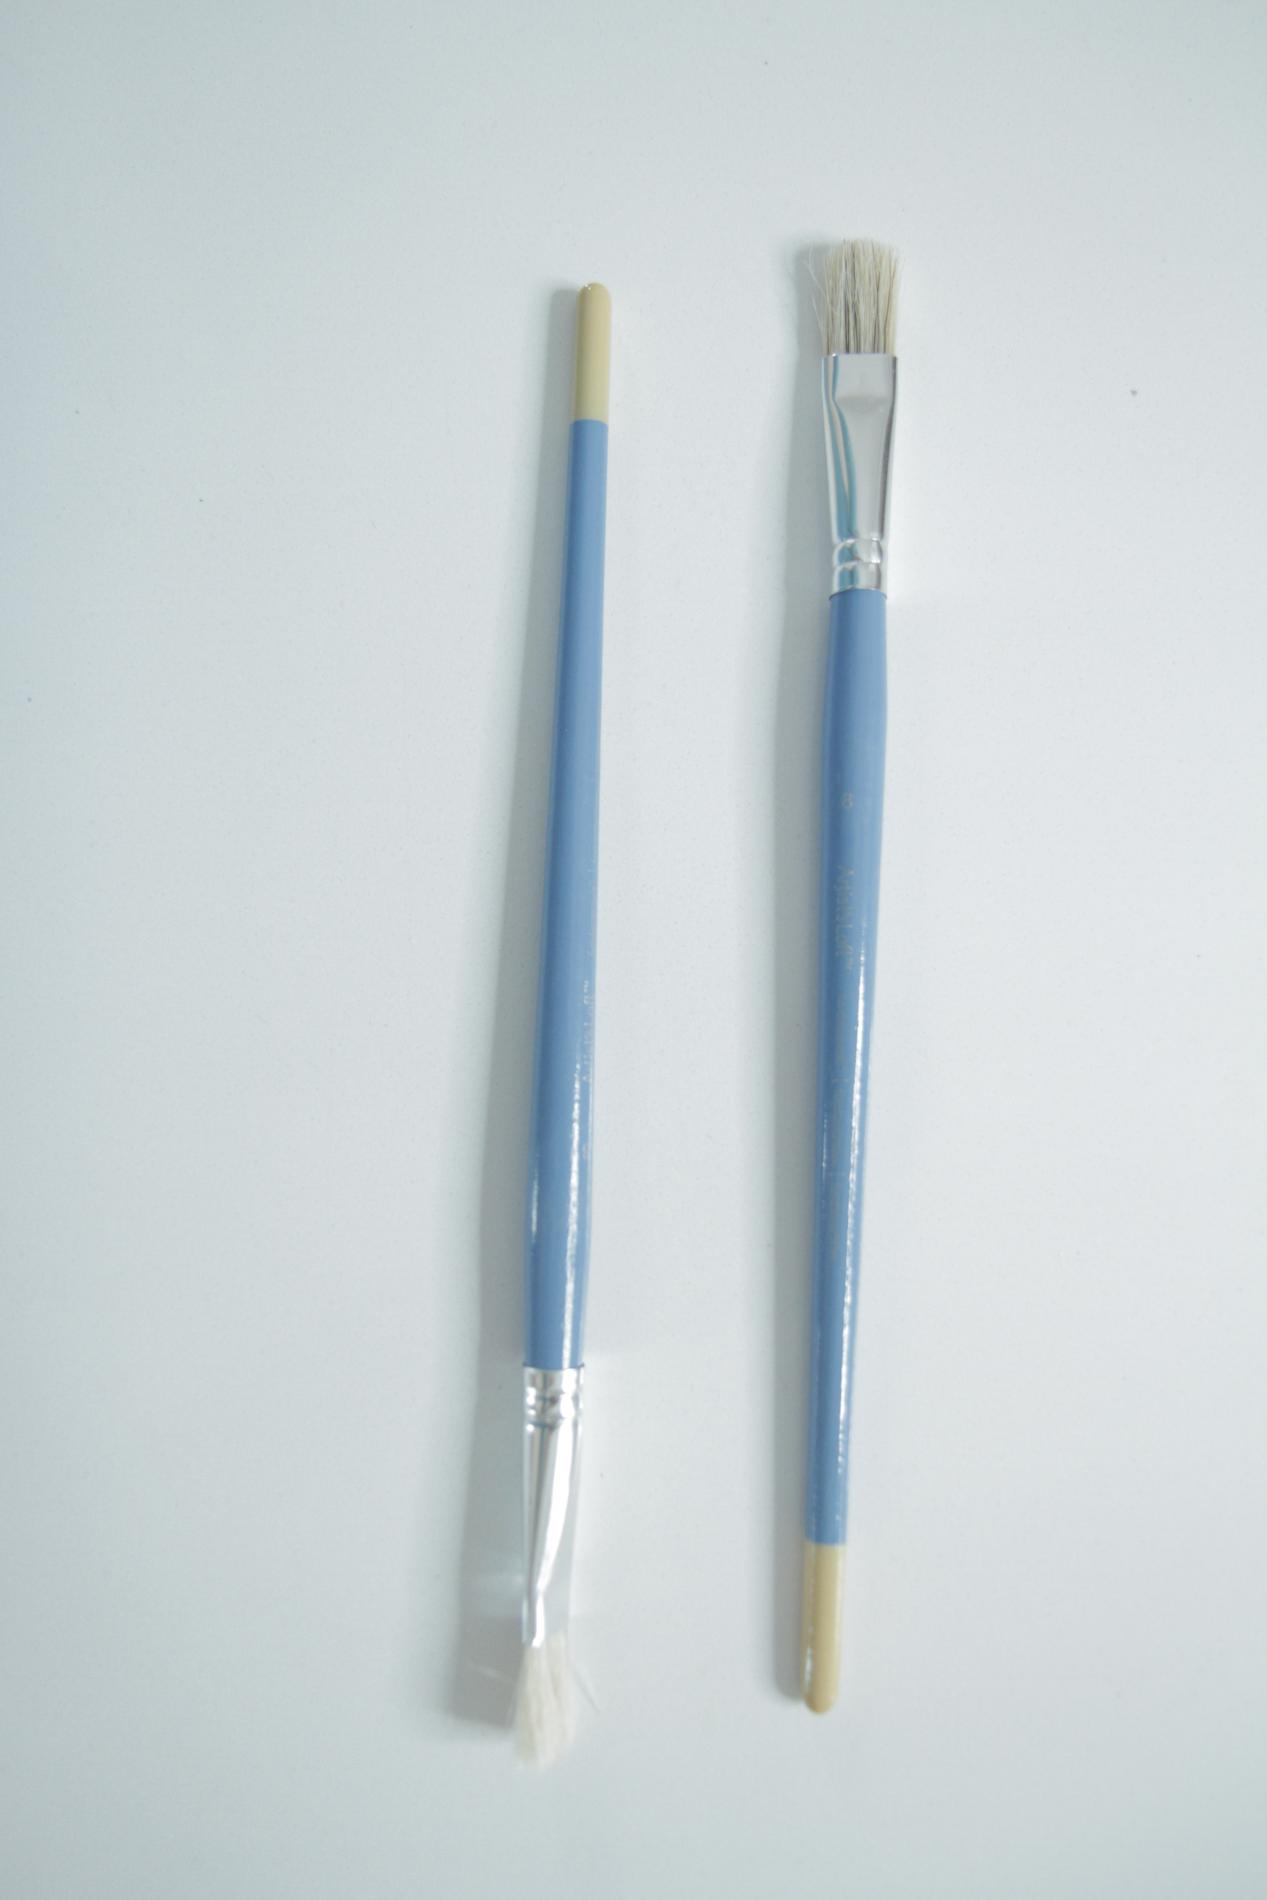
You can grab these brushes from Michael’s, or any craft store.
Spray adhesive
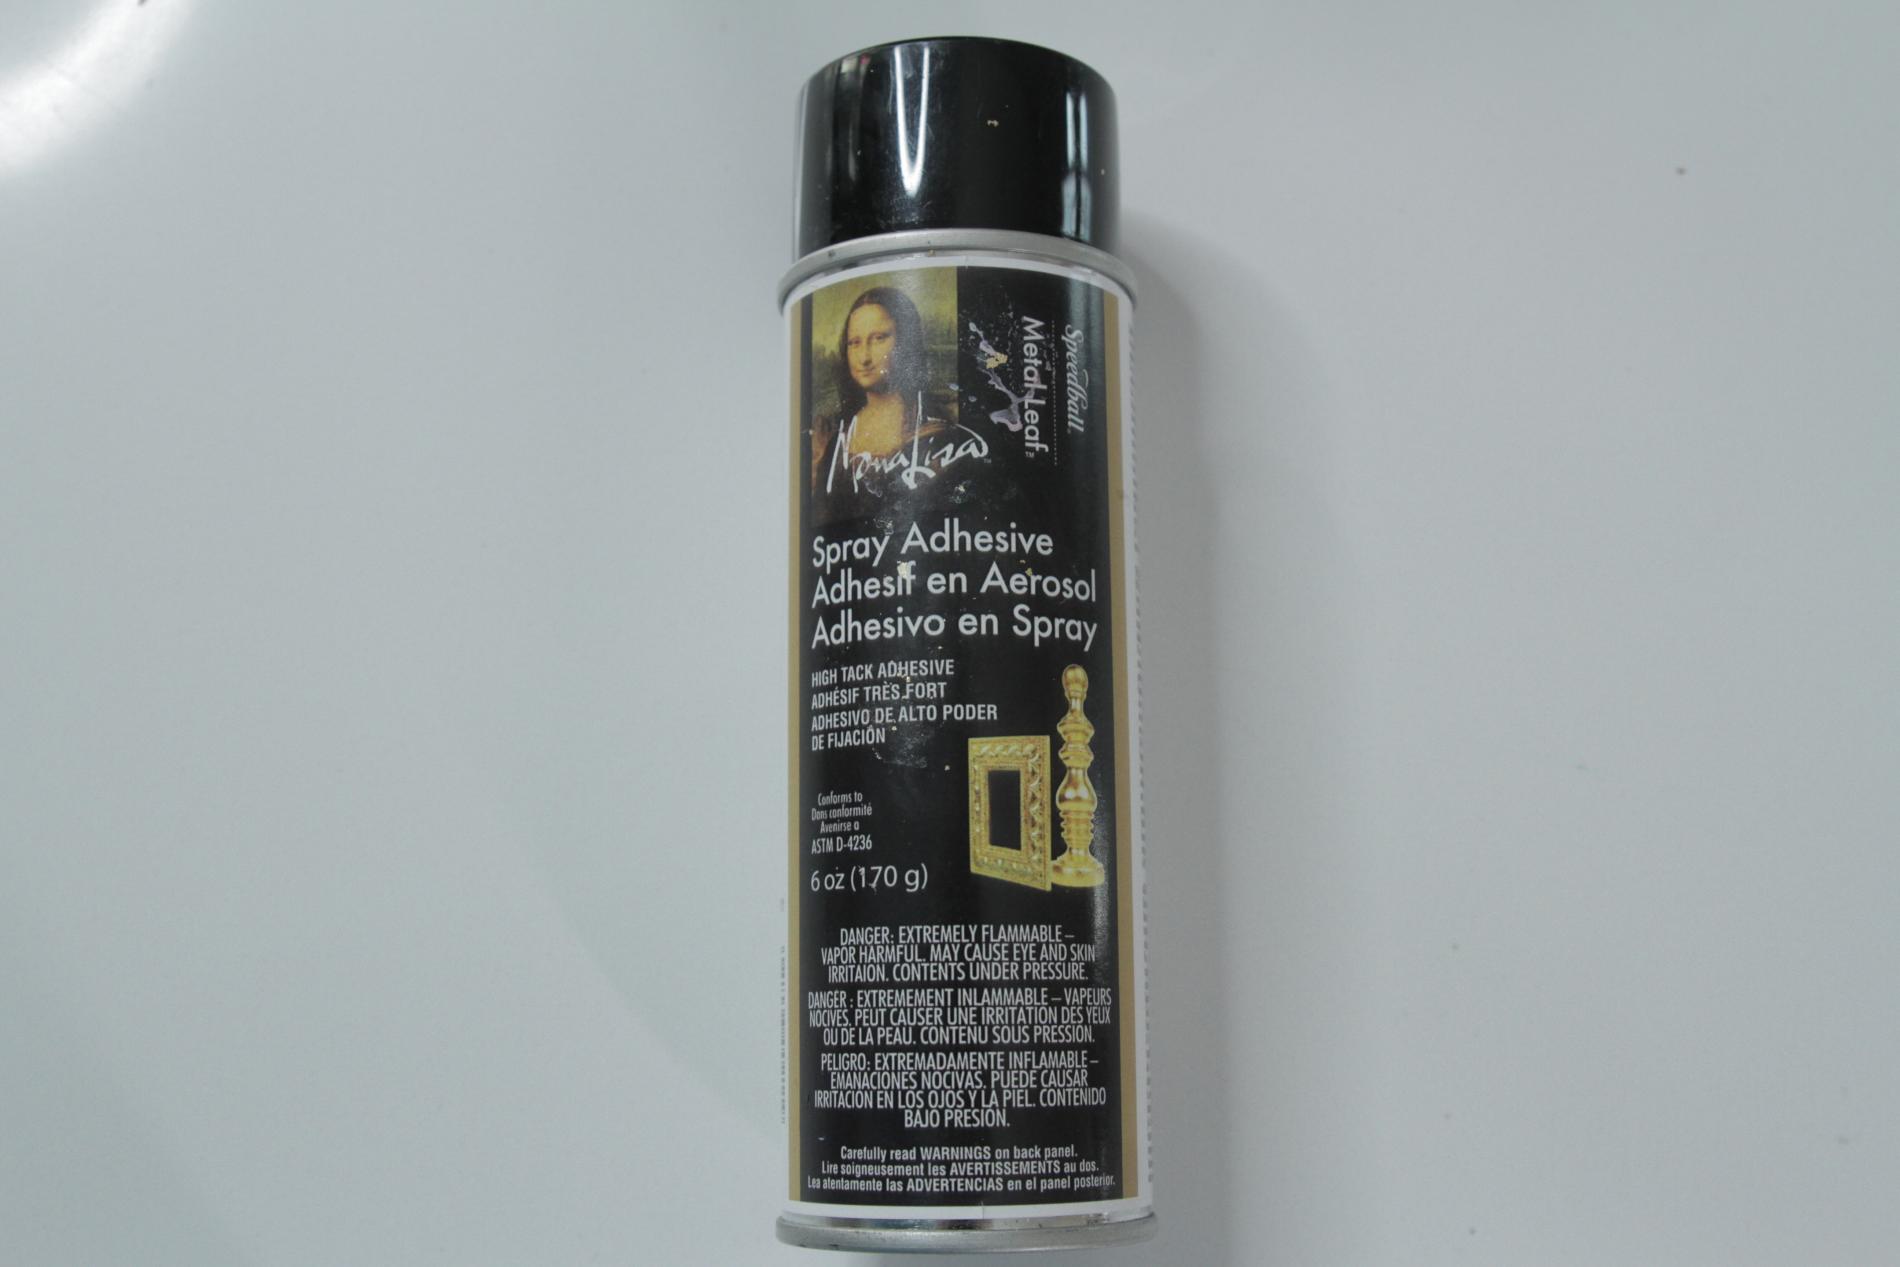
Spray adhesive is the secret ingredient for this DIY project.
Gold leaf paper
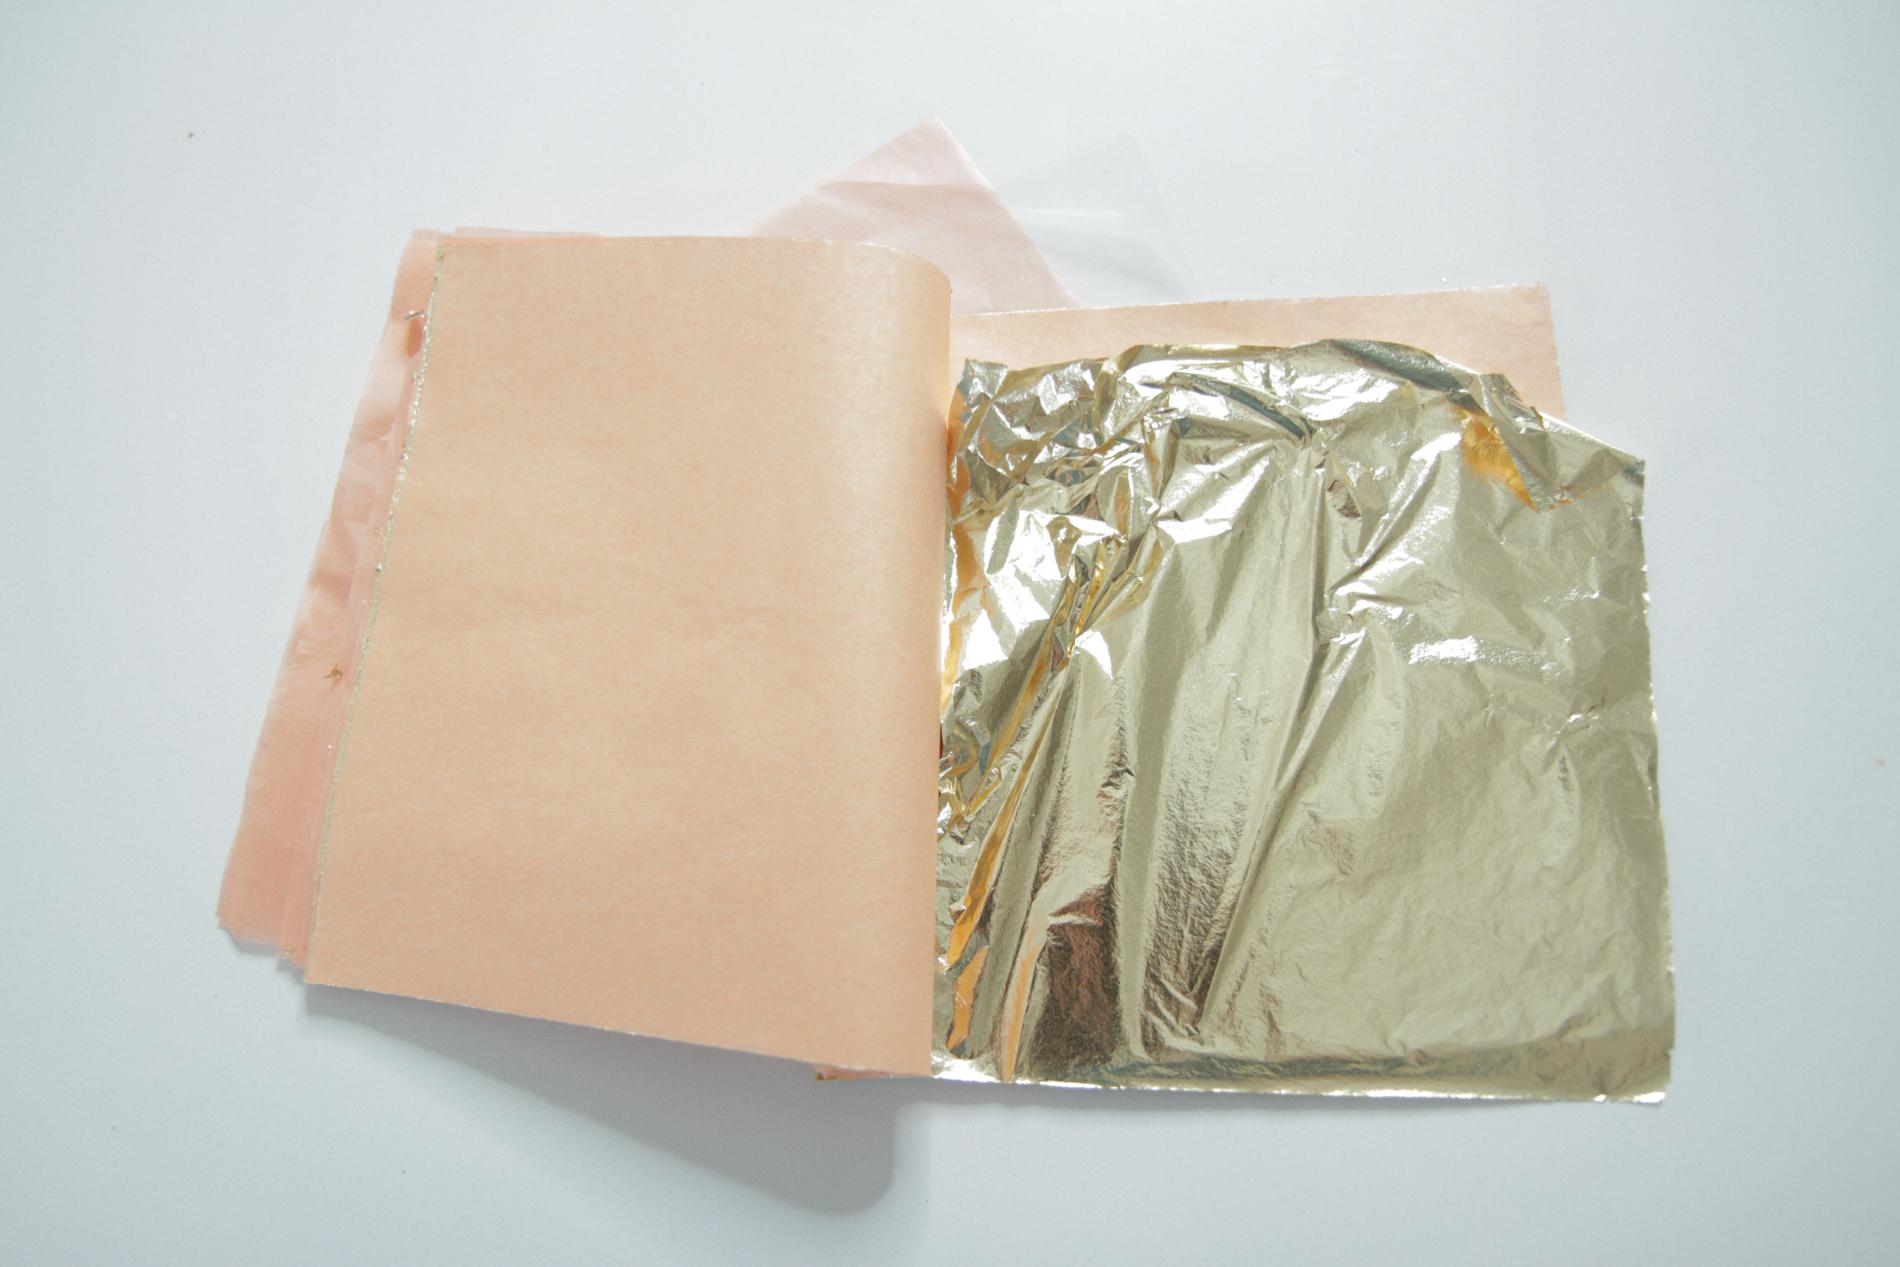
How pretty is this gold leaf paper?
The first thing you want to do before you dive into the coloring part of the project is hard boil your eggs so they don’t break! I used an organic brown egg because that’s what we have around the house, but you can really use any type of egg!
Next, you’re going to want to dip your brush in water so that it’s lightly coated and not dripping everywhere. Then, choose the first color you want to use (I used pink) and lightly pat the egg until it’s covered. Add other hues as you wish, using the same technique.
Once you let the eggs dry (it’ll take a few minutes), take a spray adhesive and spray the parts of the egg where you want to apply the gold paper. Once you do that, apply said paper and roll the egg around in your hands and really play with it.
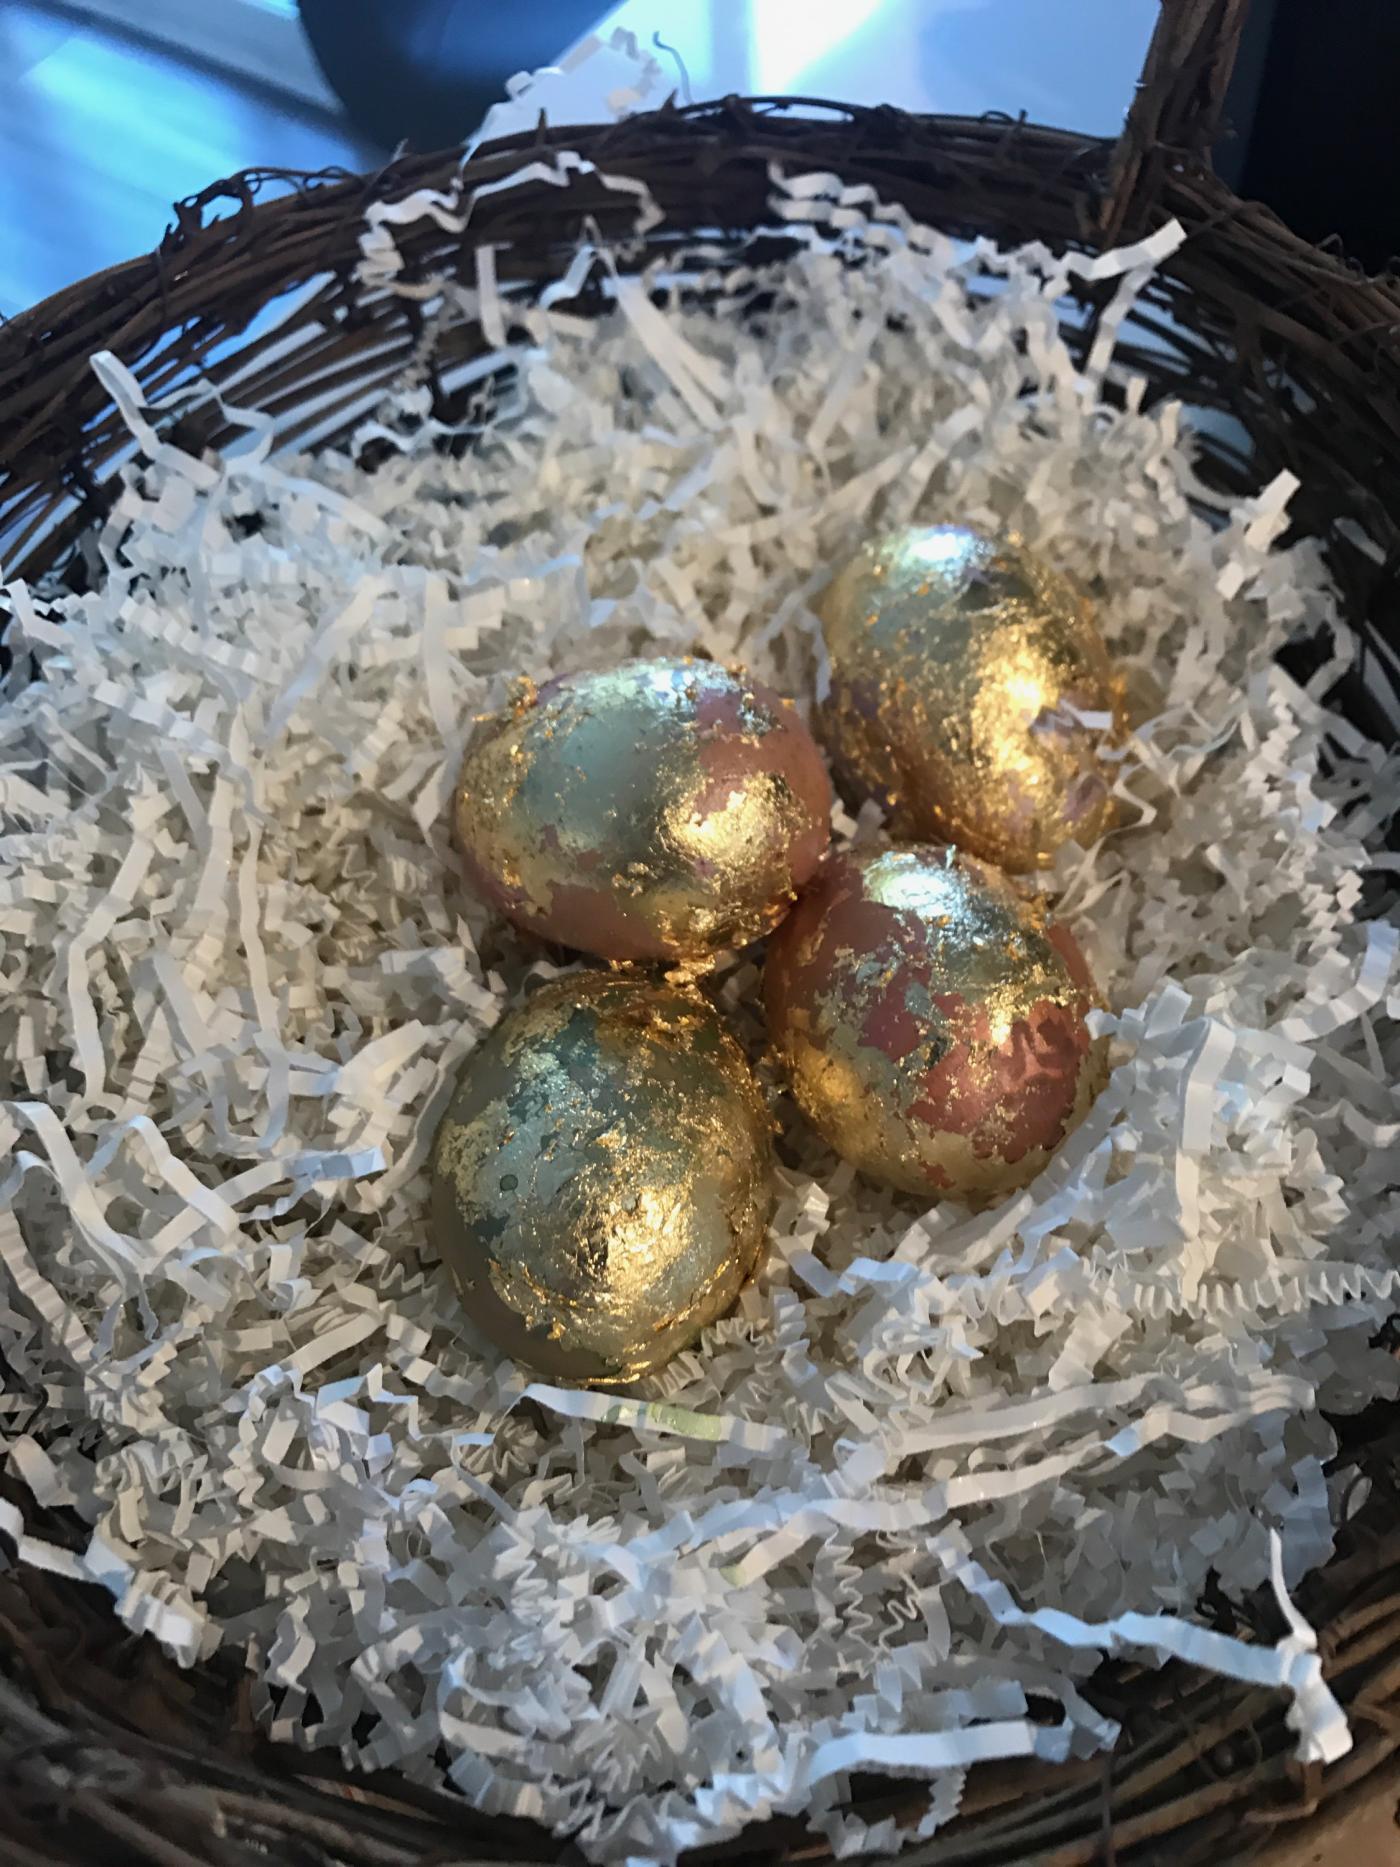
How chic!
Such a fun project!
One word of advice: this project can get messy, so wait until after you do this to get your Easter mani/pedi! Check out the full tutorial below!